Most Jenkins builds start from a commit. But plenty don't:
- QA wants a test environment for the ticket they're about to verify.
- A product manager needs a demo build of a feature branch.
- Support wants to re-run a data-fix job for a specific customer ticket.
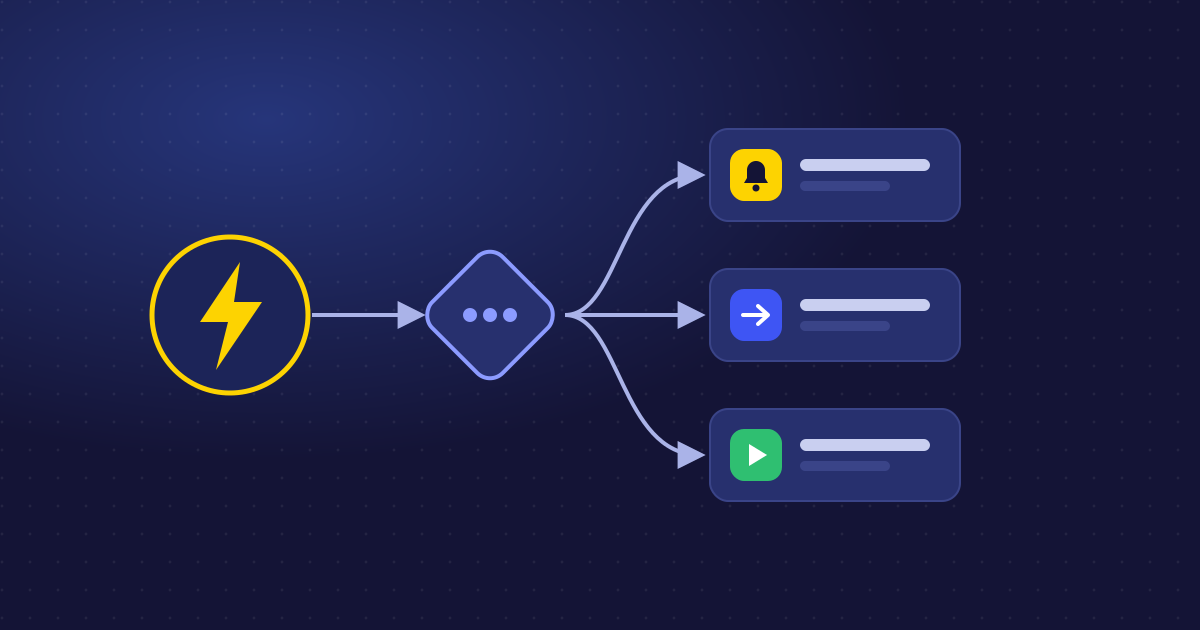
In each case the person asking lives in Jira, and often doesn't have (or shouldn't have) access to Jenkins. With Jenkins for Jira, they can start the build from the issue, and Jenkins gets everything it needs to know about that issue.
Two ways to trigger a build
1. Manually, from the issue
Open the issue and use the Trigger a Build issue action. A dialog opens where you:
- Pick one of the jobs linked to the issue, or search for any job you have access to.
- Review or add build parameters.
- Start the build.
The build then shows up on the issue like any other, with status, duration and results.
2. Automatically, with Jira Automation
Use the Build a Jenkins job from Jira action in any Jira Automation rule. Common triggers:
- Issue transitioned to Ready for QA → build the test environment
- Version released → run the release pipeline
- Scheduled every night → rebuild a reference environment for open issues in a JQL filter
The action supports a specific job or a smart-value lookup, plus build parameters.
Passing Jira data to Jenkins
A build that doesn't know why it was started is only half useful. Jenkins for Jira passes issue data as build parameters.
Always available:
issueKey(orissue_key) – for exampleSHOP-1423issueUrl(orissue_url) – a link back to the issue
Preconfigured by your admin: Jira administrators can enable specific issue fields to be passed as build parameters automatically, such as Fix versions, Components or a custom Branch field.
Manual: users can add extra parameters directly in the Trigger Build dialog.
Parameter names are matched case-insensitively, so a Jira field sent as Fix_versions matches a Jenkins parameter named FIX_VERSIONS. No need to rename parameters in existing jobs.
Knowing who asked, in your pipeline
Builds triggered from Jira carry a dedicated build cause, org.marvelution.jji.trigger.JiraCause, which includes the issue key and the user who triggered it.
That means your pipeline can:
- Check out a branch named after the issue key.
- Tag the resulting environment or artifact with the issue key.
- Post results back to the issue or chat.
- Record who requested the build, which is useful for audits.
Controlling who can build
Triggering builds is powerful, so it's permission-based. Users need the Trigger Jenkins Build project permission, whether they trigger manually or through an automation rule.
- For globally configured Jenkins sites, grant the permission in at least one project.
- For project-specific Jenkins sites, grant it in that project.
A practical setup: grant it to your QA and release manager roles, not to everyone. Automation rules should run as an actor that has the permission.
A worked example: environment per ticket
Here's a flow many teams use for feature QA:
- A developer moves
SHOP-1423to Ready for QA. - A Jira Automation rule runs Build a Jenkins job from Jira on the
preview-environmentjob, passingissueKeyand the Branch field. - The pipeline deploys the branch to
preview-shop-1423and marks the build as a deployment with environment typetesting. - The deployment shows on the issue. A Deployment successful rule comments the preview URL and assigns the issue to QA.
- QA tests, moves the issue on, and a second rule tears the environment down.
No one opened Jenkins. No one asked in chat "can someone spin up an env for me?".
Getting started
- Make sure your Jenkins site connection allows Jira to call Jenkins (bidirectional or tunneled).
- Grant the Trigger Jenkins Build permission to the right roles.
- Ask your Jira admin to enable the issue fields you want as parameters.
- Add matching parameters to your Jenkins jobs.
- Try it from one issue, then automate.
Read the trigger build documentation for the details.

Jenkins for Jira
See builds and deployments from Jenkins right on your Jira issues.
View on Atlassian Marketplace