Atlassian has set the dates: new Data Center subscriptions stopped on 30 March 2026, existing customers can no longer expand from 30 March 2028, and Data Center products reach end of life on 28 March 2029, after which subscriptions and their Marketplace apps expire and instances become read-only.
If your teams rely on Jenkins build and deployment data inside Jira, that integration has to come with you. The good news: with Jenkins for Jira, you don't have to start from an empty Cloud site. Your Jenkins sites, jobs, build history and issue links can be migrated with the Jira Cloud Migration Assistant (JCMA).
This guide covers what moves, what you need to redo, and how to plan cutover without losing traceability.
What migrates with JCMA
When you migrate Jira with JCMA, Jenkins for Jira exports and imports its own data alongside it:
- App configuration – your Jenkins for Jira settings
- Jenkins sites and their metadata
- Jenkins jobs and build history
- Links between builds and Jira issues
That last point matters most. Years of "which build fixed this?" and "when did this reach production?" history stay attached to your issues. Auditors, support engineers and release managers don't lose context on day one of Cloud.
Three properties that make migration low-risk
1. It's additive. A migration is added to the data your Jira Cloud site already has; it never replaces it. If you've already connected a Jenkins instance to Cloud for a pilot, it stays untouched.
2. Identities are preserved. Every site, job and build keeps its original identity. That means you can:
- Run a test migration first, then run it again for real without creating duplicates.
- Migrate in phases, project by project.
- Consolidate several Data Center instances into one Cloud site.
3. It's ordered for you. Data can arrive in parts and in any order. The app collects everything first, then imports in dependency order: configuration → sites → jobs → builds → issue links.
One exception to keep in mind: app configuration is not merged. If you run several migrations, the configuration from the last one wins. When consolidating multiple Data Center instances, migrate the instance with the configuration you want to keep last, or review settings afterwards.
What you need to do after migrating
Migrated data is history; live synchronisation needs a fresh handshake. Each migrated Jenkins site must be re-registered with your Jira Cloud site before new builds flow in. The migration screen in the app highlights which sites still need this, so nothing gets forgotten.
On the Jenkins side, you use the Jira Integration plugin to connect. Check the plugin's current minimum Jenkins version before cutover; if some of your controllers are running old LTS releases, upgrade those first.
Choosing a connection model
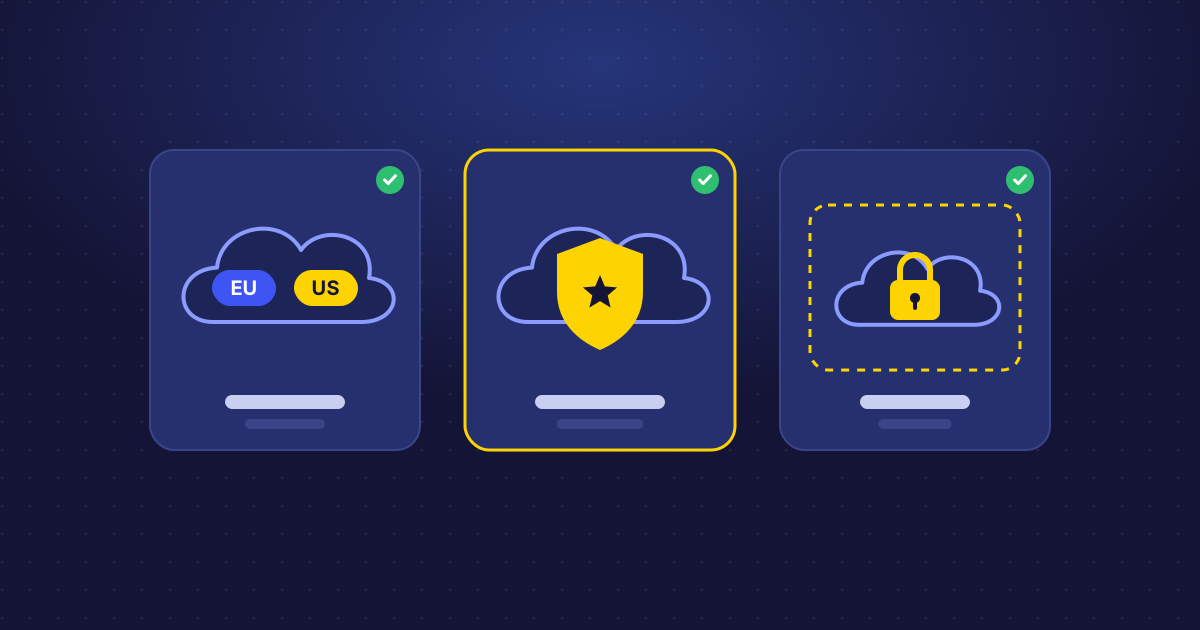
Cloud means Jira now lives outside your network. Jenkins for Jira supports three ways to connect, so you don't have to open your firewall:
| Model | When to use it |
|---|---|
| Unidirectional | Jenkins can't be reached from the internet. Jenkins pushes build data to Jira; Jira doesn't call Jenkins. |
| Bidirectional | Jenkins is reachable. Jira can call back, for example to trigger builds or sync job details. |
| Tunneled | Jenkins isn't publicly reachable, but you want the bidirectional experience. A secure tunnel provides access (Advanced edition). |
Pick per Jenkins instance. It's common to have public-facing controllers on bidirectional and internal ones on unidirectional or tunneled.
Reading the migration result
Each migration ends in one of five states:
- Success – all data was imported.
- Incomplete – some data was imported, with errors to review.
- Failed – nothing was imported.
- Timed out – the data didn't arrive within the expected window (hours).
- Cancelled – you stopped it; anything already imported stays.
Because migrations are additive and identity-preserving, an Incomplete or Timed out result isn't a disaster: fix the cause and run it again.
Not using JCMA? Use export and import
If you're moving between Cloud sites, or want to move Jenkins for Jira data separately from a JCMA run, use Export and Import in the app administration. You can choose what to include:
- Configuration – app settings
- Integration – Jenkins sites, jobs, builds and issue links
- Automation – automation rules and their execution history
Download the export file promptly: migration history is only kept for 5 days after it's created.
Cutover checklist
Use this as a starting point for your migration plan:
- Inventory your Jenkins controllers – which ones are connected, and who owns them.
- Decide the connection model for each controller (unidirectional, bidirectional, tunneled).
- Upgrade Jenkins and the Jira Integration plugin to supported versions.
- Install Jenkins for Jira in your Cloud site before the JCMA run.
- Run a test migration of a representative project to a sandbox or the target site.
- Check a handful of issues: build history, deployment markers and issue links should be there.
- Plan the configuration order if you're consolidating several Data Center instances.
- Run the production migration.
- Re-register every migrated Jenkins site with Jira Cloud and confirm new builds arrive.
- Recreate or verify automation rules, including Jira Automation rules that use build and deployment triggers.
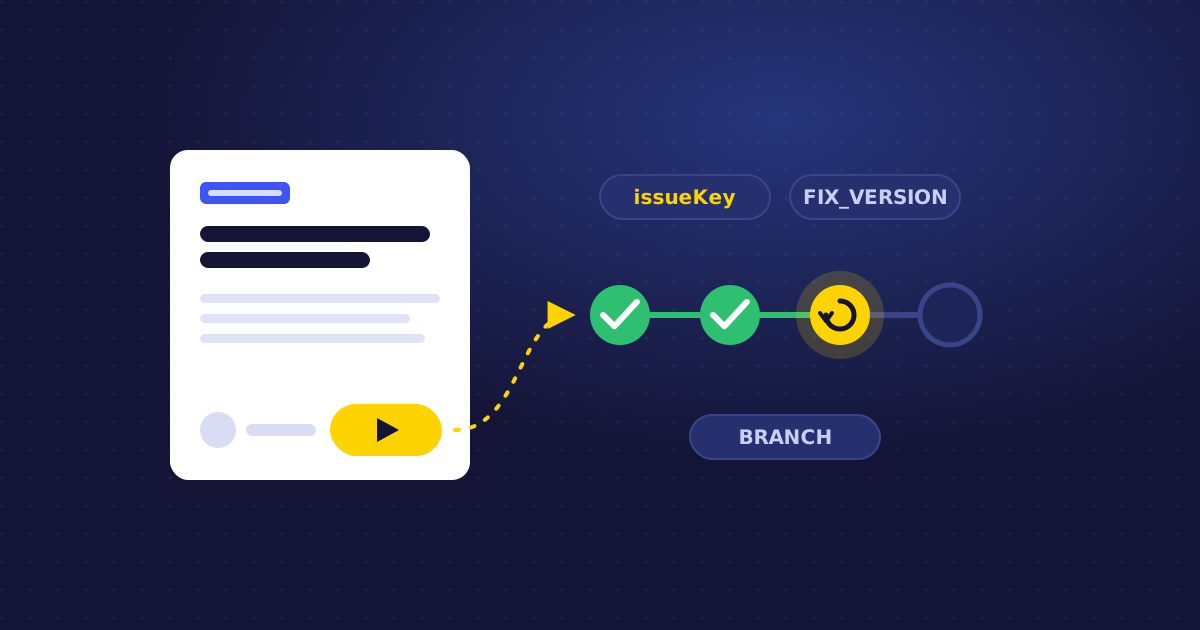
- Tell your developers that nothing changes in their workflow: issue keys in branches and commits still link builds to issues.
Take the migration off your critical path
Most of the risk in a Jira migration sits with the data you can't afford to lose. With Jenkins for Jira, your CI/CD history comes along, test runs can be repeated, and Jenkins keeps running exactly as it does today.
Need help planning a migration with multiple Jenkins controllers or Data Center instances? Contact our support team or read the JCMA migration docs.

Jenkins for Jira
See builds and deployments from Jenkins right on your Jira issues.
View on Atlassian Marketplace